In 2013, Cinestill introduced a new colour negative film called Cinestill 800T. This emulsion is derived from Kodak Vision3 500T cinema film which was developed solely for use with the motion picture industry’s standard development process, ECN-II. How do they do it, if this Kodak emulsion is not intended for photography? The manufacturer has found a way to treat the material with special chemistry to remove Rem-Jet layer, that was causing development problems.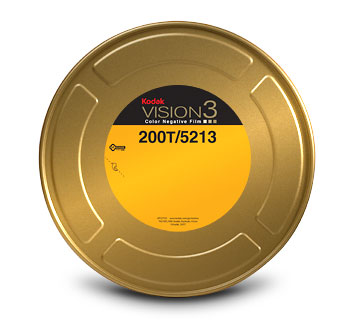
Recently, thanks to my photographer friend Michal I had a pleasure to test cinematic emulsions. Why I did it? Because of the price that is a few times cheaper than Cinestill films, and because of the outstanding quality of those materials:
50D – A daylight balanced 50 iso film
250D – A daylight balanced 250 iso film
500T – A tungsten balanced 500 iso film – designed to work best in artificial light (“T” in the name stands for tungsten).
These are all Kodak Vision3 motion picture emulsions that were and still are used for making Hollywood movies (f.ex Star Wars: The Force Awakens). Produced in 8mm, 16mm, 35mm, and 65mm formats.
Those can be bought in large cans. So the length of a film can be 1000ft. With a bulk loading machine, you can spool 35mm film into already used film cassette. To load film onto film cassettes simply tape the end of the bulk film to the end of the previously cut film, you have shot before. Or tape it to a cassette central spindle (in case you use reusable film cassettes).
This is the first part of the job. The second one is to remove a protective rem-jet layer. What is that? It is a black coating, made of carbon particles. It works as anti-halation (prevents the formation of halos of light/small ghosts surrounding bright light sources) and anti-static (helps deal with the tremendous heat generated while it’s being run through a motion picture camera). You can give the film to your lab if they know how to remove it, or if you have access to a darkroom, you can wash this film using a C41 kit – pre-soak in “remjet removal” agent (to be bought on internet), or calcium soda. Some people do this as well at the end of the development process in warm running water by rubbing film gently with hands wearing gloves. Without removal of rem-jet before processing will ruin the developer solution. However, if you don’t worry about colours and remjet, you can also develop your film with a black and white developer.
Motion picture films as well as Cinestill’s film have insane latitude (+/- 5 stops), without losing shadow and highlights details. You don’t have to worry much about your light measurement. Those emulsions are very similar to Kodak Portra, however much better for under and overexposure. Why then use them instead of Cinestill. For the price of your processing effort, you will have one roll for 2 euro, instead of 12 euro. Also, you will avoid halos next to bright light sources, that may appear on Cinestill. Of course, you may want to have it for some artistic effect. Anyway, it is always good to have a choice.
The best reward will be beautiful colours reproduction, astonishing latitude and fine grain you will see on your final image. From all those three emulsions I mostly loved Kodak Vision3 500T. I could shoot it from Iso 200 to ISO 1000 without worrying for information lost. And the colours it gave me in tungsten light, I never had that with Kodak Portra. Shadows are going into blue/purple, lights into yellow. Reds are so tempting. Also in bright sunlight colour reproductions are stunning. You may also use 500T there, but in this case, you have to use 85B warming filter.
Here some of my shoots using all those Kodak materials.
First one is 35mm Kodak Vision3 50D film. It is the one I like least. Each photo may go into different colour balance. I had to fix colours after scanning.


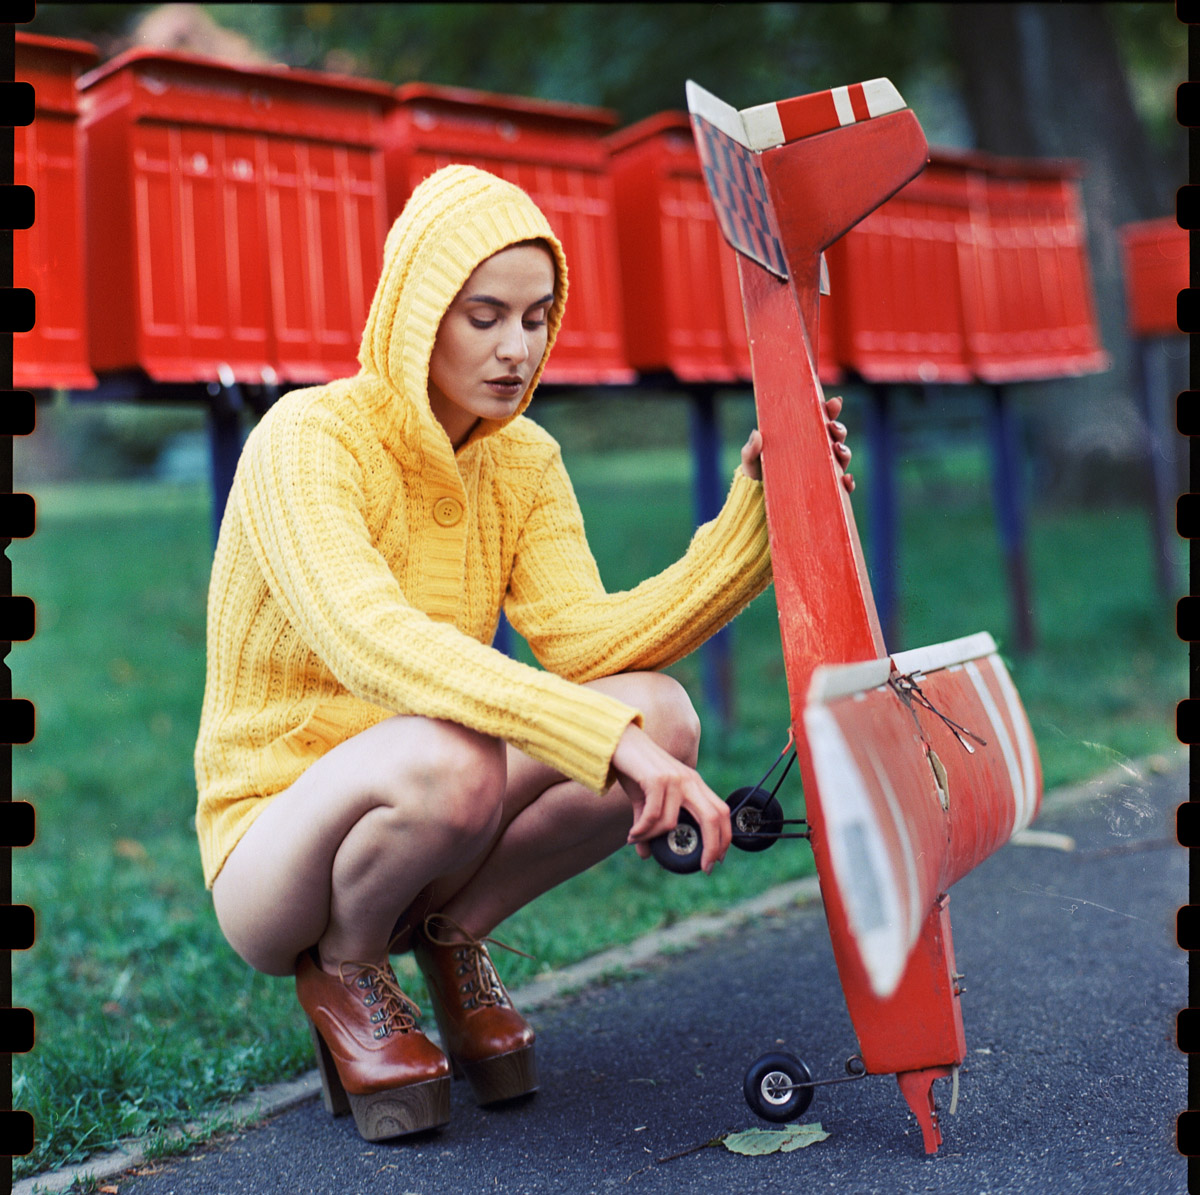
The second one is 65mm Kodak Vision3 250D shoot with Hasselblad. As you can see the film has perforation visible on both sides, as 120mm film is 62mm wide. So to bulk load this one on standard medium format roll, you have to cut a bit both sides. Lovely colours reproduction and smooth grain. A bit purple/magenta into shadows. No need to fix anything after scanning.


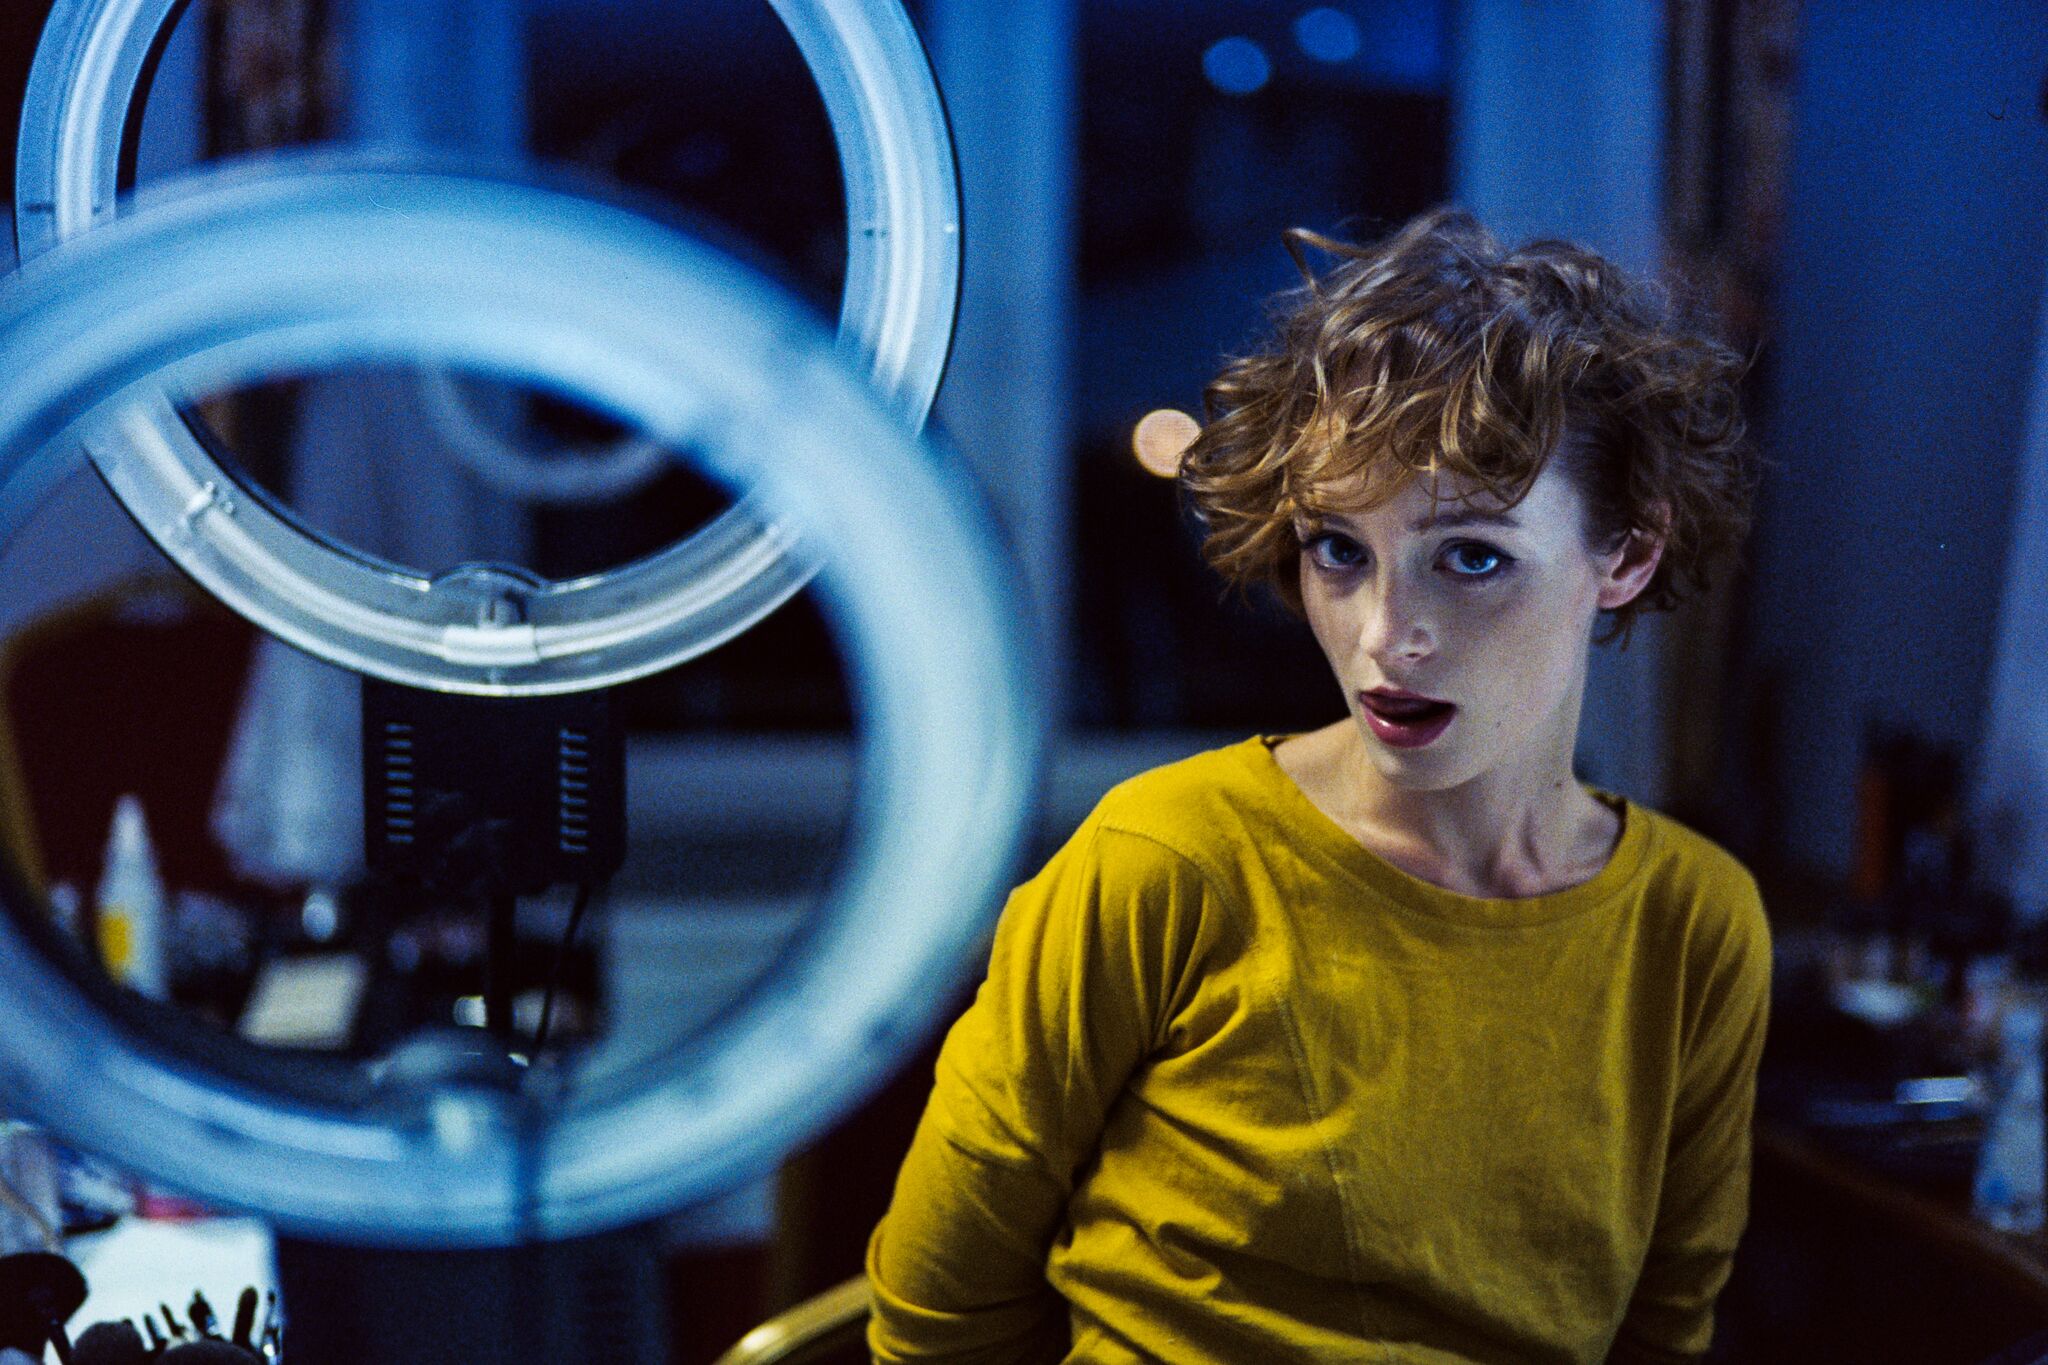
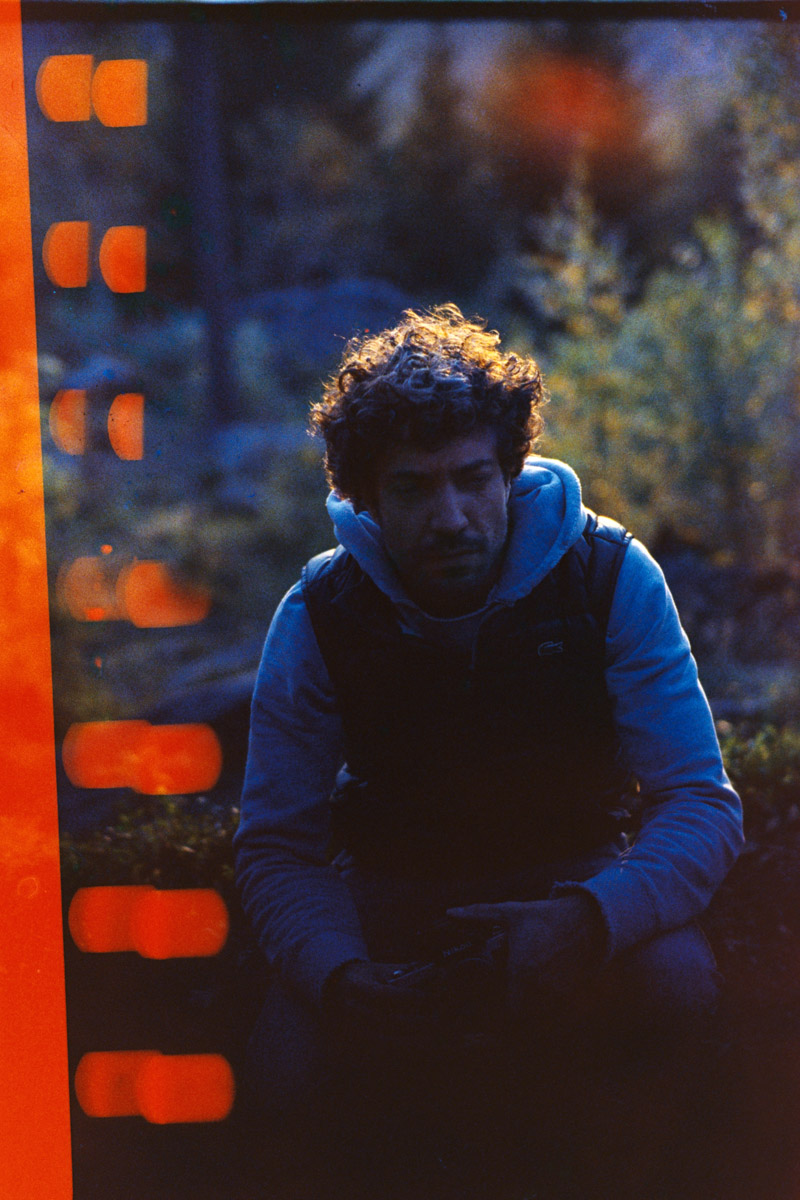
The third emulsion is my favourite Kodak Vision3 500T. Now I understand why people went so crazy about Cinestill 800T. I have tried to do all photos with artificial light, or just after sunset. Pushed ISO to 1600. After scanning colours are lovely. A bit too much blue/violet in the shadows, but easy to fix later. However, I guess some may like it as it is with no post-processing. Beautiful grain and this unique feeling of 80s movies, that I haven’t seen with any other emulsion.


Once again thanks Michal for help with those materials, info and processing.
Hello,
Nice to see you bloging!
It’s a pleasure to have an insight of your work, thoughts…
Keep it up!
How could you take a nice shot wil low light?
Very Nice, thaks for your sharing.
Author
I have pushed film to ISO1600 and had a very bright lens for that.